Dead Pixel Checker: Test Your Monitor for Dead, Stuck and Bright Pixels
A single defective pixel can be difficult to notice during normal computer use, especially on a high-resolution display. It may become much easier to identify when the screen is tested with solid colors and controlled patterns.
The Checker.Free Dead Pixel Checker is a display diagnostic suite designed to help inspect monitors and screens for dead pixels, stuck pixels, bright pixels, dim pixels, subpixel defects, backlight bleed, screen uniformity problems, gradients, banding, and text sharpness.
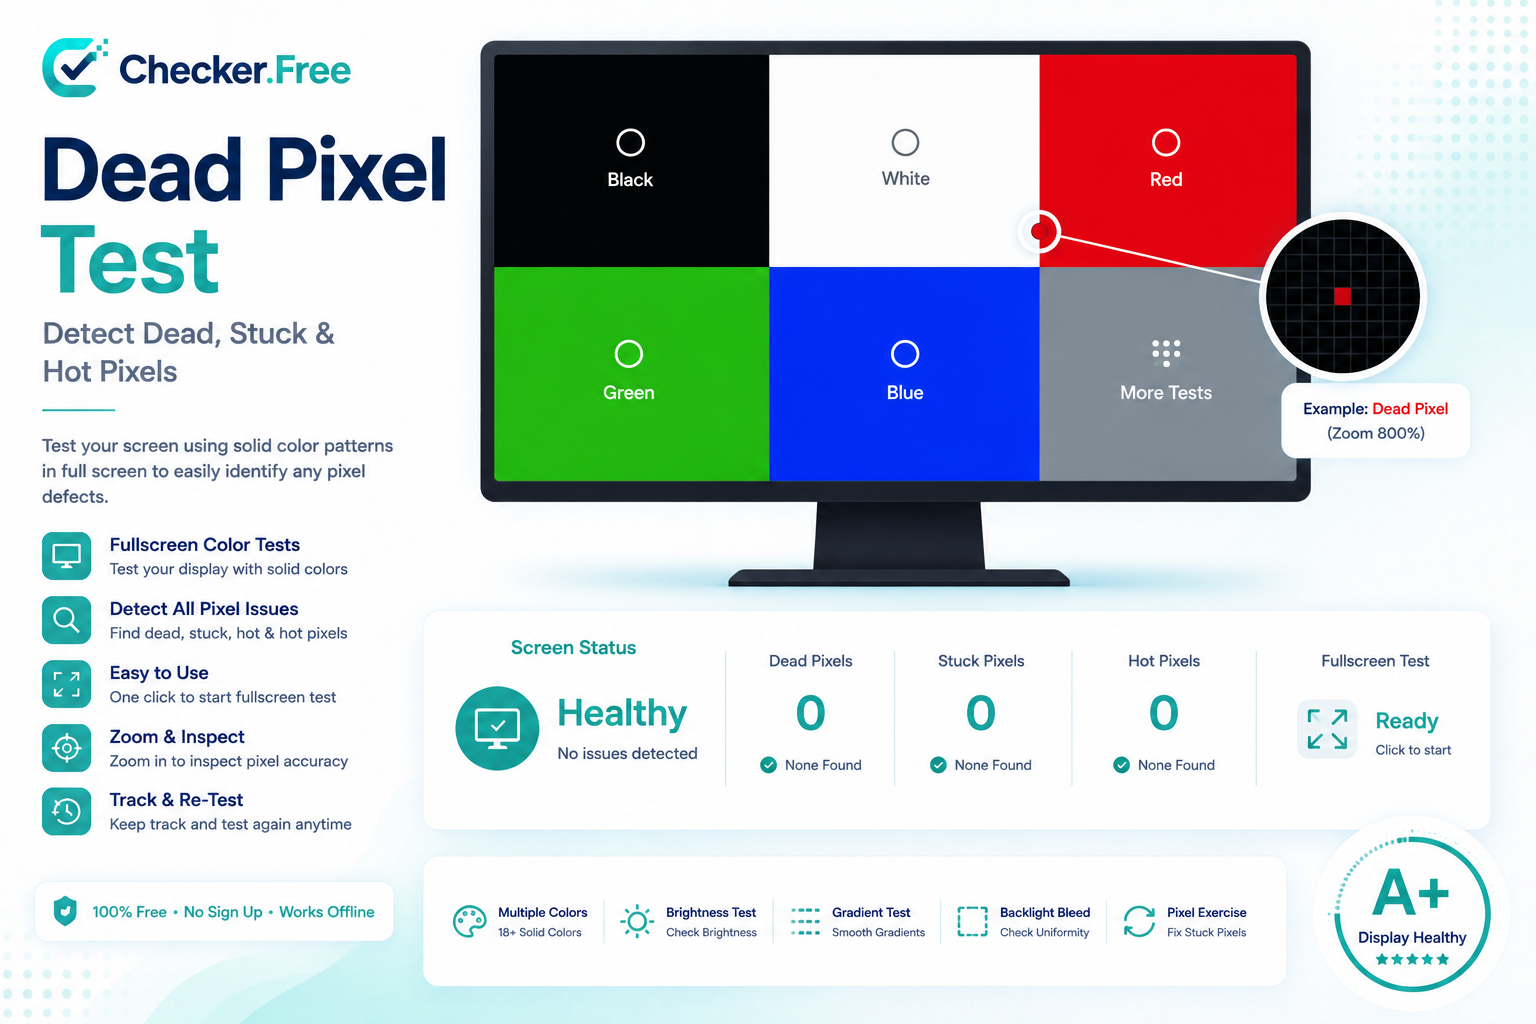
What Is a Dead Pixel?
A dead pixel is a pixel that has permanently stopped functioning. On LCD and OLED displays, it typically appears as a small black point that remains dark even when the surrounding screen is displaying a bright color.
Dead pixels are often easiest to spot against a pure white background, where a permanently dark pixel creates a strong visual contrast.
Dead Pixel vs. Stuck Pixel
Dead and stuck pixels are not the same type of defect.
A dead pixel remains inactive and generally appears black.
A stuck pixel has one or more subpixels that remain active. Depending on which subpixel is affected, it may appear as a persistent red, green, blue, cyan, magenta, or yellow point. Stuck pixels are often easier to see against dark or contrasting backgrounds.
Understanding this difference is useful when inspecting a new monitor because the appropriate test color can make a particular defect much easier to identify.
What Is a Hot or Bright Pixel?
A hot pixel, sometimes called a bright pixel, occurs when the red, green, and blue subpixels remain illuminated at maximum brightness.
The result is a small, bright white point, which is particularly noticeable when the surrounding screen is pure black.
What Is a Subpixel Defect?
A physical pixel normally contains multiple color components, most commonly red, green, and blue.
A subpixel defect occurs when only one of these individual components is affected rather than the entire pixel. This can produce very small color abnormalities that may only become visible when the screen is displaying specific solid colors.
How the Dead Pixel Test Works
Checker.Free provides a quick test that cycles through five primary full-screen colors:
Pure Black
Pure White
Pure Red
Pure Green
Pure Blue
The idea is simple: inspect the entire display during each color and look for a pixel that stays different from the surrounding area.
Different colors expose different problems. White is particularly useful for spotting dark or dead pixels, while black can reveal bright pixels and colored stuck pixels. Red, green, and blue can isolate individual subpixel problems.
How to Test a Monitor for Dead Pixels
For a more reliable inspection, start by cleaning the screen so that dust particles are not mistaken for pixel defects.
Then set the display to its native resolution and run the fullscreen test.
Carefully scan the panel from:
Top to bottom → left to right → corners → center
Repeat the inspection for each solid color.
A genuine pixel defect remains in exactly the same location while the surrounding background changes.
A Browser Cannot Automatically See a Dead Pixel
The test can display controlled patterns, but it cannot physically determine whether a pixel is functioning correctly.
The operating system and display controller send image data to the screen, but they do not provide an optical feedback mechanism that tells software whether a physical pixel actually emitted the expected light.
For this reason, visual inspection remains essential when using a dead pixel test.
Backlight Bleed
Pixel defects are not the only issue worth checking when inspecting a monitor.
Backlight bleed is a display characteristic associated with LCD panels where light from the backlight escapes around areas near the panel edges, corners, or bezel.
It is generally easiest to see when displaying a pure black screen, particularly in a darker room.
For a meaningful inspection, use a normal display brightness rather than an unusually high setting and view the screen directly from a normal viewing position. Fixed bright areas around the bezel that remain in the same location can indicate backlight bleed.
IPS Glow vs. Backlight Bleed
These two effects are often confused.
IPS glow is related to the optical characteristics of IPS panel technology. It can become more visible when viewing a dark screen from an angle and may change noticeably as you move your viewing position.
Backlight bleed, on the other hand, is typically associated with localized light escaping around the panel structure and tends to remain in a fixed location.
This distinction is important when evaluating whether a monitor has a genuine panel issue or an expected characteristic of its display technology.
Screen Uniformity and Mura
A good display should also be examined for uniformity.
Screen uniformity refers to how consistently brightness and color are distributed across the entire panel. Poor uniformity can appear as darker corners, brighter areas, or sections with a noticeably warmer or cooler tint.
Another related issue is Mura, which describes subtle cloudy or blotchy variations in luminance. These effects can become easier to notice with mid-tone gray patterns, such as 25% or 50% gray.
OLED and AMOLED Display Testing
OLED displays require some additional checks.
Near-black patterns such as 1%, 3%, and 5% gray can help reveal low-luminance uniformity issues and near-black banding.
Solid colors can also be useful for identifying tint changes, uneven subpixel behavior, or other visual anomalies.
Checker.Free includes a dedicated OLED & AMOLED Check preset with a focused sequence for these types of displays.
Image Retention vs. Burn-In
OLED users may also encounter two different types of image persistence.
Image retention is generally temporary and may disappear after the panel rests or runs an appropriate refresh cycle.
Burn-in refers to permanent non-uniform degradation of the display's emissive elements, resulting in lasting ghost-like outlines from previously displayed content.
A display test can help identify visible symptoms, although determining the exact cause may require additional diagnosis.
Advanced Display Diagnostic Suite
For users who want more than a quick five-color inspection, Checker.Free includes an Advanced Diagnostic Suite.
The suite provides 25 test patterns organized into several groups:
Pixel Defects
Grayscale & Tonal
Uniformity & Bleed
Gradients & Banding
Geometry & Pixel Grid
Sharpness & Text
The complete advanced sequence can also be run as a 25-step laboratory-style test.
This makes the tool useful not only for finding individual pixel defects, but also for examining broader display characteristics.
Display Inspection Presets
Checker.Free includes dedicated testing presets for different display types and inspection purposes.
OLED & AMOLED Check
The OLED preset focuses on near-black levels, banding, static-screen safety considerations, and subpixel color uniformity.
LCD & IPS Inspection
The LCD/IPS preset focuses on backlight bleed, IPS glow, 50% gray clouding or Mura, and viewing-angle inspection.
Full Display Health Check
A broader display-health sequence combines different categories of patterns to provide a more comprehensive inspection.
Useful Tools During Inspection
The fullscreen diagnostic interface includes several inspection controls that can make examination easier.
These include:
Magnifier Loupe for enlarging a small area
Pixel Grid Overlay for examining pixel structure
Defect Marking for recording the location of a problem
Zero Obstruction Mode for reducing interface distractions
Navigation between test patterns
Automatic pattern cycling
Checkpoint status marking
The defect marker can classify findings such as dead, stuck, bright, dim, subpixel, or backlight-related issues and can store notes for each marked location.
Testing a Used or Refurbished Monitor
A dead pixel test is especially useful before purchasing a used or refurbished display.
A systematic inspection can include:
Solid colors for dead and stuck pixels.
Pure black for bright pixels and backlight issues.
50% gray for clouding and uneven wear.
Fine pixel patterns for checking pixel-level rendering.
A physical inspection of the ports, bezel, and stand.
This approach helps uncover problems that may not be obvious when simply viewing a normal desktop wallpaper or video.
Can a Stuck Pixel Be Fixed?
Some stuck subpixels may occasionally recover through rapid color stimulation or pixel exercise routines.
However, there is no guarantee that such a procedure will restore a defective pixel. A completely dead transistor cannot be repaired through software.
Checker.Free includes a dedicated Stuck Pixel Exercise section for running color-cycling routines that can be used as an optional attempt for certain stuck-pixel situations.
Do Not Press the Screen
Physically pressing, rubbing, or massaging a suspected stuck pixel is not recommended.
Modern LCD and OLED panels contain delicate internal layers, and applying mechanical pressure can damage functional pixels or other parts of the panel. It may also affect warranty coverage.
A controlled display exercise is much safer than applying physical pressure to the panel.
Dead Pixel or Dust?
Not every tiny mark on a screen is a defective pixel.
A dust particle sits on the external surface and can change apparent position relative to the pixel grid when your viewing angle changes.
A genuine pixel defect remains fixed at the same physical location on the display.
Cleaning the screen before testing is therefore one of the simplest ways to avoid false identification.
When Should You Return a Monitor?
Pixel-defect policies differ between manufacturers and retailers.
A return or exchange decision can depend on the number and location of defects, their visibility during normal use, and the specific warranty or return policy associated with the monitor.
A defect located in a prominent central viewing area may be considerably more noticeable than one near the edge of the panel.
Always check the manufacturer's or retailer's current pixel policy before making a return decision.
Test Your Display with Checker.Free
Ready to inspect your monitor?
Open the Checker.Free Dead Pixel Checker and start with the quick five-color test. For a deeper inspection, explore the advanced diagnostic patterns and display-specific presets.
You can also explore related Checker.Free tools such as the Refresh Rate Checker, Resolution Checker, Image Resolution Checker, and Contrast Checker.
For more tools, visit the Checker.Free homepage.
Comments
Post a Comment